
I found this in my notes from when I loaded NetHunter on my old OnePlus one a while back. Thought someone might find it useful so enjoy..
(apologies for the formatting, copy/paste from google docs broke some things..)
The first (and hardest) part of this install is finding the binaries. Unfortunately, CyanogenMod has moved on and is no longer supported. This means official links are no longer available.
Luckily XDA has some archives we can leverage. This is the closest thing to an official download I could find. If you don’t trust it, don’t use it. If you find a better source, let me know :)
Kali gave us some scripts to help out here and really simplified the process. Use the following command to clone the NetHunter Linux Root Toolkit (LRT).
stockOpoFlash script could take a few minutes to run, but when it completes you should have a shiny new factory load of CM 13.0. Take a few minutes to do the initial config, and then we can continue.
After the binaries are loaded into the appropriate directories and debugging is enabled you’re ready for the install.
Again we can leverage the LRT, this time with the modified twrpFlash.sh
Select “USE SDCARD”When trying to download the latest file from the app, it complained about not having SSL cert in pin store. Because i had the file already, i didn't bother trying to fix this issue.
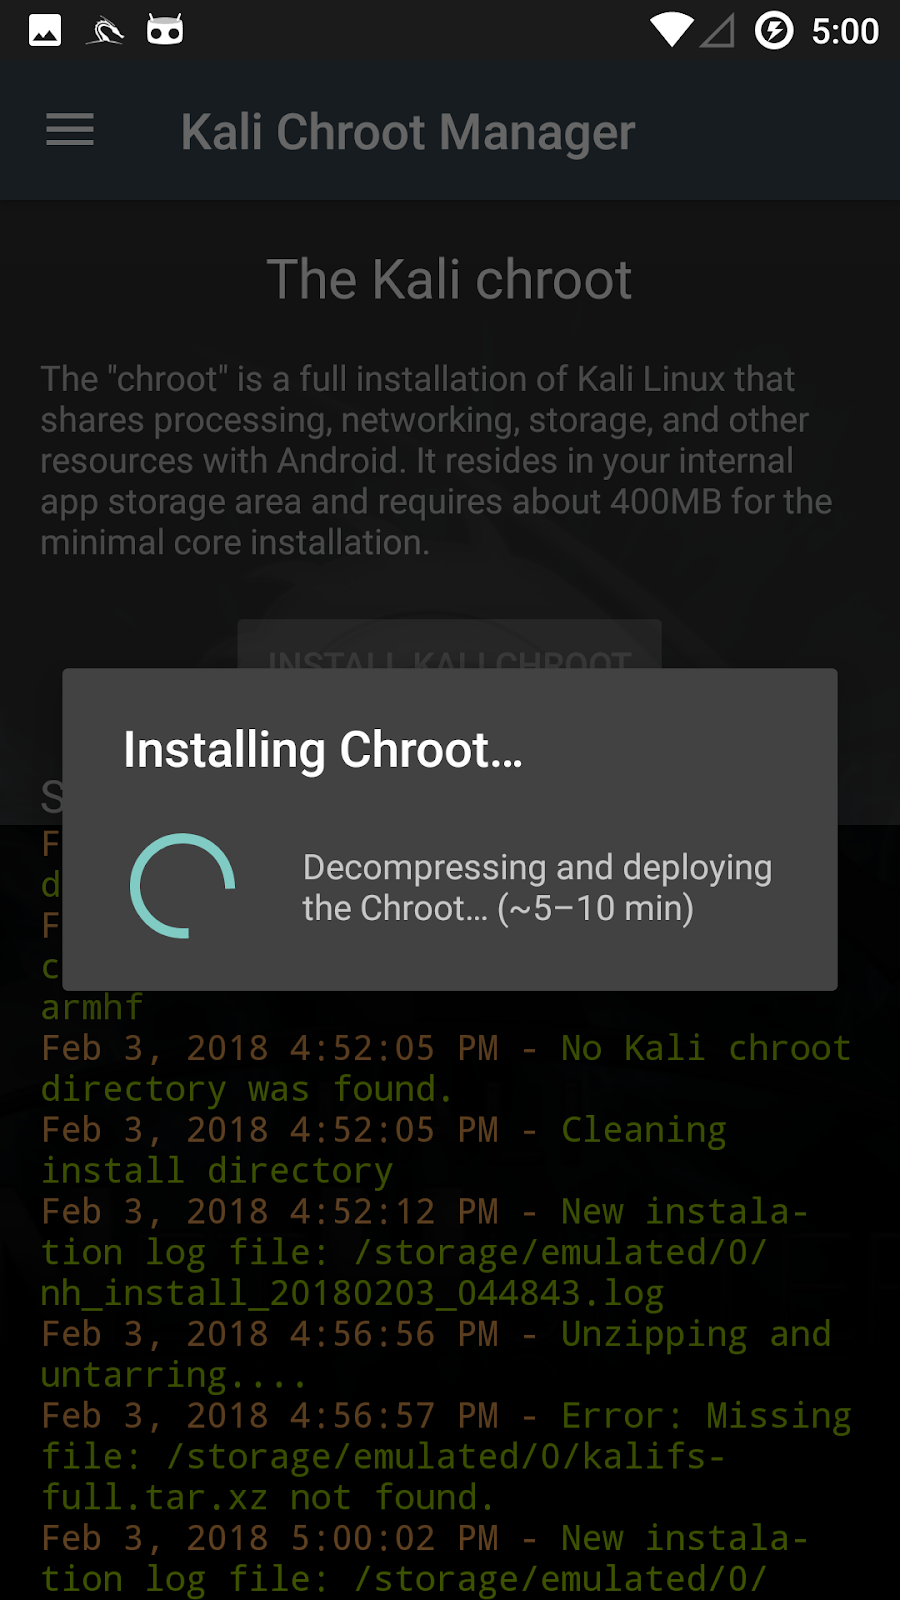
The chroot file can be found within the generic-arm64-kalifs-full-rolling-* file. To complete the install move this file onto the sdcard. the name of the file is important so make sure to name the file “kalifs-full.tar.xz” when puttign on sd. The installer is looking for this specific filename.
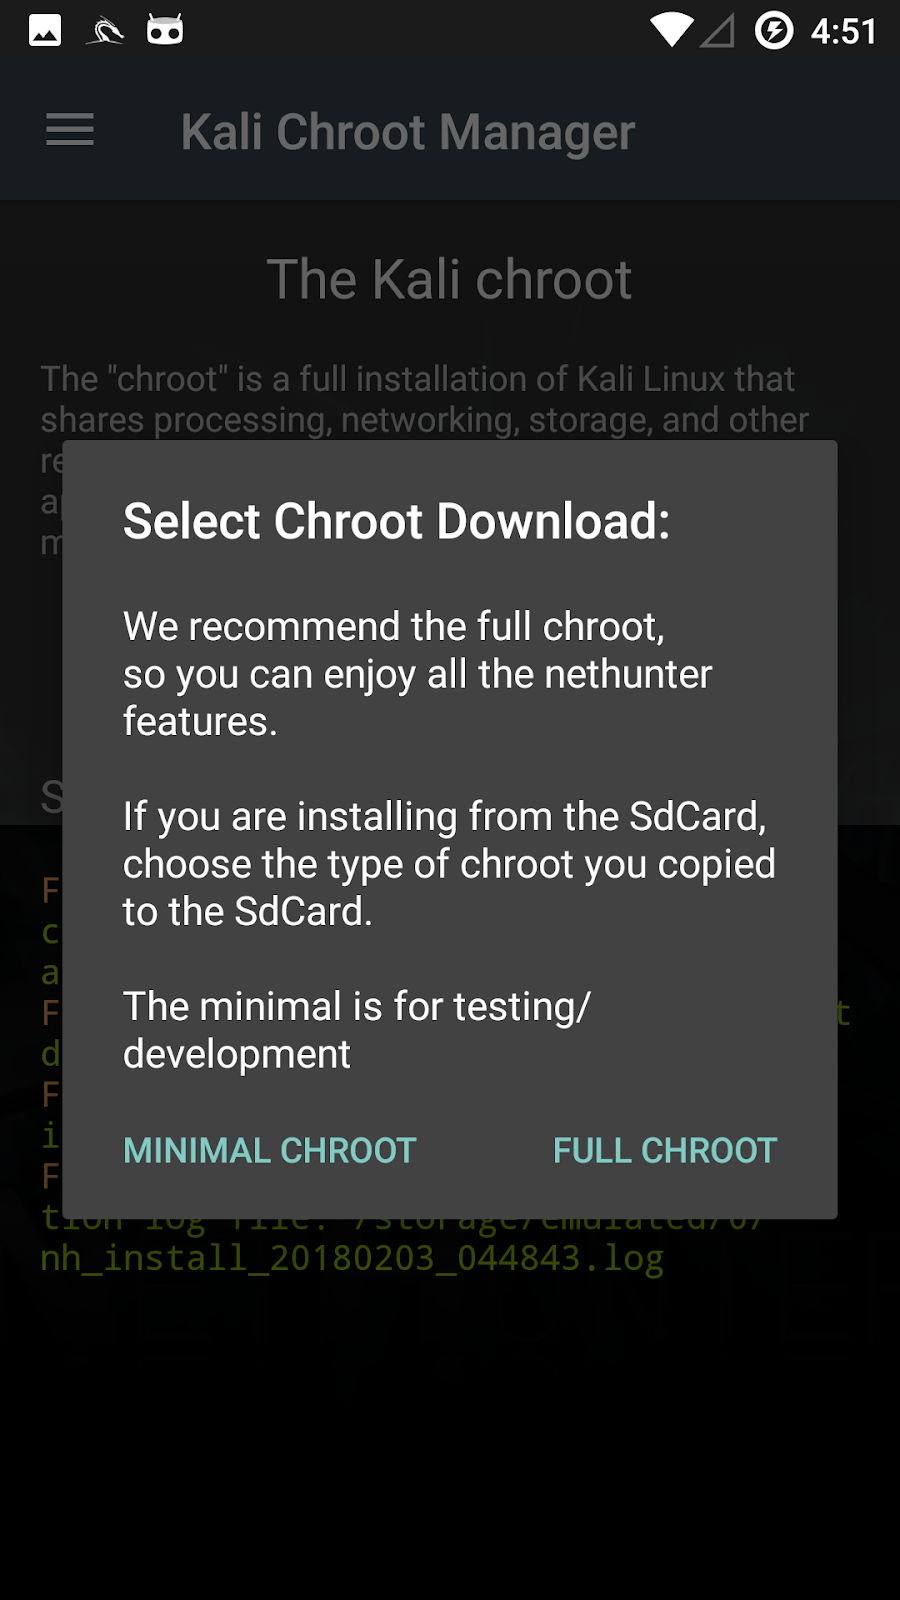
Once the file is on the sdcard continue and with the installation which could take a up to 10 minutes. When asked which type of Chroot, select ‘FULL CHROOT’
(apologies for the formatting, copy/paste from google docs broke some things..)
1) Backup
The first thing to do is backup your OnePlus One!
This can be done many ways but i found the following commands useful:
Adb pull /storage/ /local/path/to/stuff/storage
Adb pull /sdcard/ /local/path/to/stuff/sdcard
Once your data is backed up verify that you have what you need before moving on. The later steps will ERASE ALL YOUR DATA!
2) Install stock CyanogenMod
Once all important data is backed up, we are ready to install CyanogenMod
2.1) Download
The first (and hardest) part of this install is finding the binaries. Unfortunately, CyanogenMod has moved on and is no longer supported. This means official links are no longer available.
- Cyanogenmod.org looks dead, and cyngn.com domain now belongs to an autonomous vehicle company. Cool! But not what we are looking for…
- LineageOS is the re-incarnation of Cyanogen, but I didn’t find any NetHunter images for LineageOS…
Luckily XDA has some archives we can leverage. This is the closest thing to an official download I could find. If you don’t trust it, don’t use it. If you find a better source, let me know :)
I was able to download m-13.0-ZNH0EAS2JK-bacon-signed-fastboot.zip from this XDA post.
cm-13.0-ZNH0EAS2JK-bacon-signed-fastboot.zip
MD5: f44c296aa4347a282d0b1b555e55bb63
cm-13.0-ZNH0EAS2JK-bacon-signed-fastboot.zip
MD5: f44c296aa4347a282d0b1b555e55bb63
2.2) Device Unlock
Once we have a file we are almost ready to install it, but first make sure your device is unlocked.
$ adb reboot bootloader //this will reboot into fastboot…
$ sudo fastboot oem device-info // this will print device info
...
(bootloader) Device tampered: true
(bootloader) Device unlocked: true // this tells you you are unlocked.
(bootloader) Charger screen enabled: false
(bootloader) Display panel:
OKAY [ 0.005s]
finished. total time: 0.005s
$ sudo fastboot oem unlock // if needed, this will unlock bootloader
$ sudo fastboot reboot // this will reboot the device
Rebooting…
2.3) Install
Kali gave us some scripts to help out here and really simplified the process. Use the following command to clone the NetHunter Linux Root Toolkit (LRT).
git clone https://github.com/offensive-security/nethunter-LRT
The readme is pretty helpful, but here is an twitter sized summary
- cp cm-13.0-ZNH0EAS2JK-bacon-signed-fastboot.zip /path/to/nethunter-LRT/stockImage
- Put your OnePlus One into debug mode and accept RSA prompt
- Run “sudo /path/to/nethunter-LRT/stockOpoFlash.sh 64gb”
//if you have 16gb model update the command appropriately
//In my case fastboot needs to be run as root, sudo above may not be necessary
stockOpoFlash script could take a few minutes to run, but when it completes you should have a shiny new factory load of CM 13.0. Take a few minutes to do the initial config, and then we can continue.
3) Install Kali NetHunter
Once CM 13.0 is installed and configured we can install Kali NetHunter. As before the hardest part will be collecting the files.
3.1) Download the latest TWRP, SuperSU, and NetHunter images.
SuperSU:
ChainFire has stopped maintaining SuperSU, but the site is still available. I pulled v2.82 from http://supersu.com/download. If this is no longer available, Magisk should work.
MD5: 8755c94775431f20bd8de368a2c7a179 SuperSU-v2.82-201705271822.zip
TWRP:
MD5: 0a1f6e1fdb7397617e7da4e2caf71b83 twrp-3.2.1-0-bacon.img
NetHunter:
The NetHunter web page hosts files for CM 12.1 and CM 13.0, but I pulled the latest nightly build for CM 13.0 (Marshmallow) from https://build.nethunter.com/nightly/. Trick here is to make sure you get both the generic and kernel files (see wiki for details).
./kernel-nethunter-oneplus1-marshmallow-2017.11-18-1618.zip (CM 13.0)
Sha1:
Sha1:
125a2878ba64d2480ec743f4830ad9f5411398ee
Sha256:
ff443b2318949b858b157a791cc49321db614a3fc881c503da987527a5f181eb
Sha512: 51c5a7878ddd27a8f1363da8090943bd8c2e1d5d341b3745e00da3930ce6b98f1f090d1958baab8c0162b2049261142276fa5c04bf8f91c98f90692fdd108f6b
./nethunter-generic-arm64-kalifs-minimal-rolling-2017.11-18-1618.zip (ARM Arch)
Sha512:
b9c915cca420564b2548db96ab4239e33a381e1d31e259c32e0a5bb5012cd9051b967aa38d82a97507e3ccf10100ddaa0eb9da9888a0d1d6173fdaad68550dcf
Sha256:
3c432a2c54e657a742e91833a8f2c74e22ea5bff40f0a61d1909a8f125783660
Sha1:
32717f3a5c49ca8706ba6aca86437e26053944be
3.2) Copy images into appropriate directories (kaliNethunter, twrpImage, superSU)
Because i used the latest build, I had a minor issue with the LRT. Per the wiki the generic file needs to be flashed before the kernel. Problem was that the script was only looking for one file, so i made a few minor tweaks to the twrpFlash.sh. This allows both NetHunter images to be copied into the kaliNethunter dir and installed. Feel free to pull it down from gist. Otherwise you may need to manually load the files with TWRP.
3.3) Install NetHunter
After the binaries are loaded into the appropriate directories and debugging is enabled you’re ready for the install.
Again we can leverage the LRT, this time with the modified twrpFlash.sh
- “Sudo /path/to/twrpFlash.sh”
Wait for TWRP screen to pop up on the device before you “press any key” in the terminal to allow NetHunter Script to resume.
Once complete phone will reboot into NetHunter
4) Configuring Chroot
During install, twrpFlash reported the following error:
“Error: Kali armhf full chroot failed to install!- Maybe you ran out of space on your data partition?”
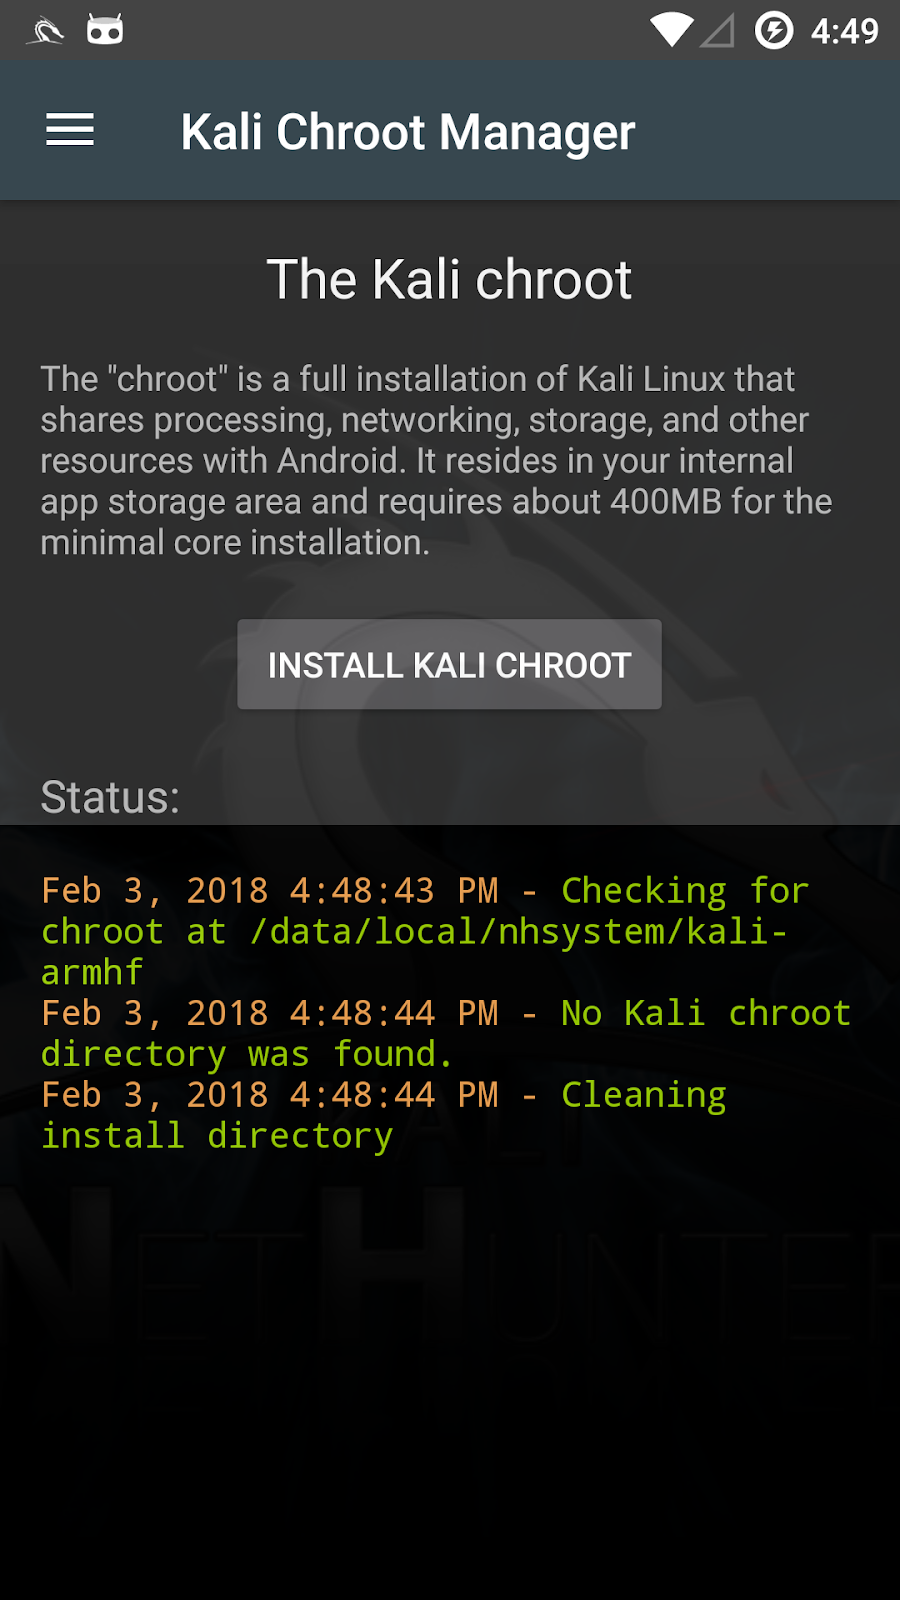
NetHunter noticed this immediately after launching the app and prompted me to install chroot.
NetHunter App > Kali Chroot Manager > INSTALL KALI CHROOT
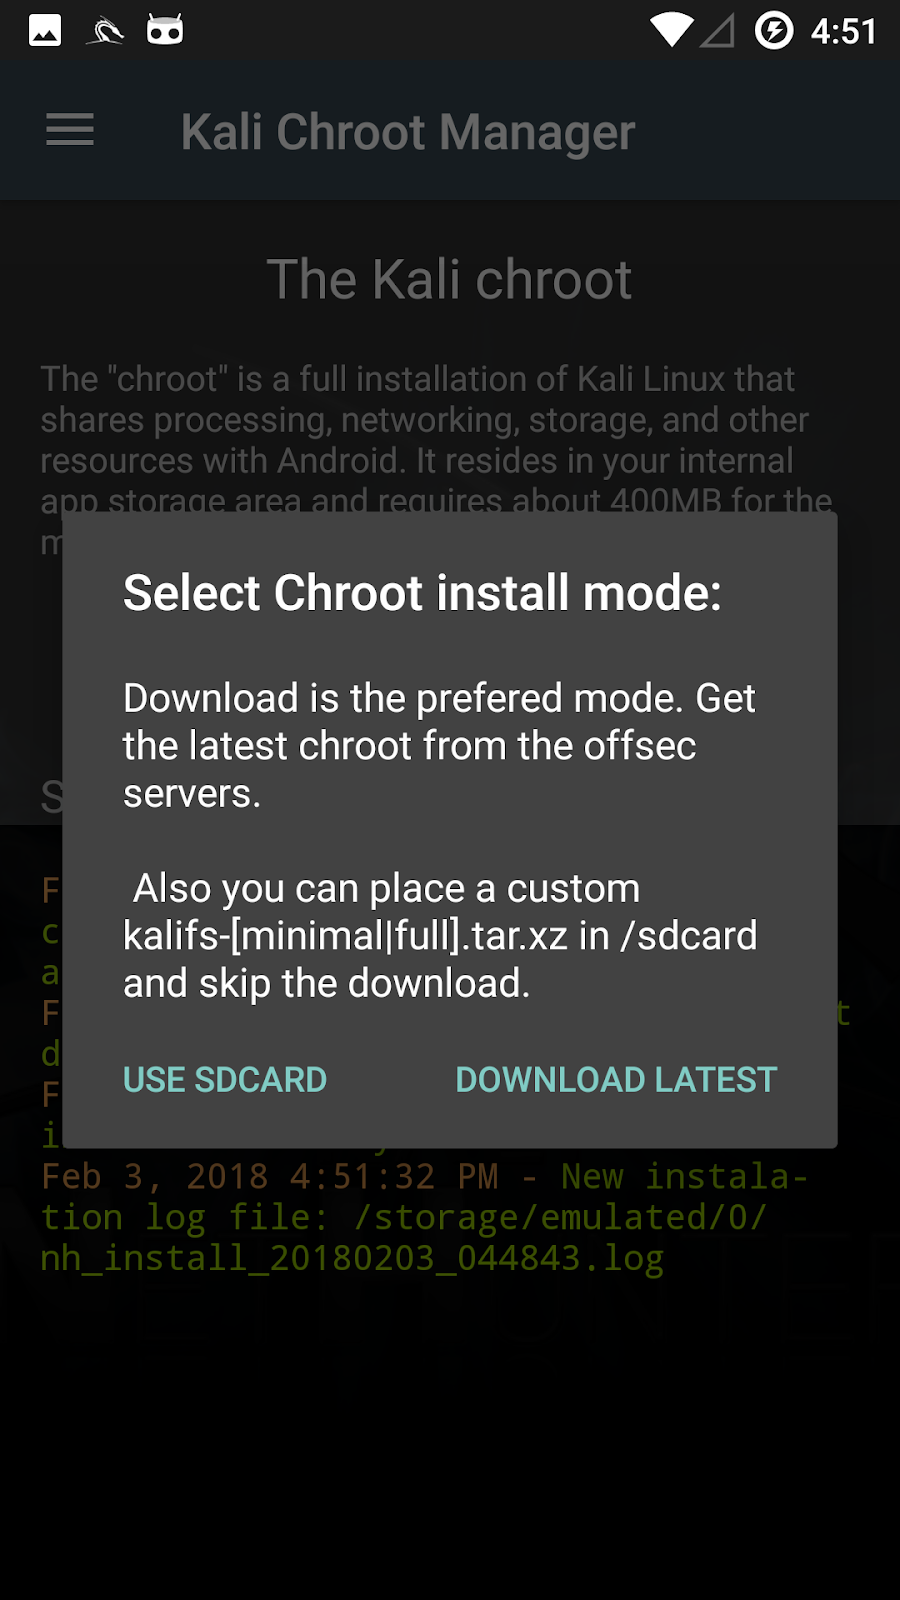
Select “USE SDCARD”When trying to download the latest file from the app, it complained about not having SSL cert in pin store. Because i had the file already, i didn't bother trying to fix this issue.
The chroot file can be found within the generic-arm64-kalifs-full-rolling-* file. To complete the install move this file onto the sdcard. the name of the file is important so make sure to name the file “kalifs-full.tar.xz” when puttign on sd. The installer is looking for this specific filename.
$ adb push kalifs-armhf-full.tar.xz /sdcard/kalifs-full.tar.xz
6518 KB/s (926953176 bytes in 138.871s)
Once the file is on the sdcard continue and with the installation which could take a up to 10 minutes. When asked which type of Chroot, select ‘FULL CHROOT’
After install, you will be asked which metapackages you plan to use.
I think I used nethunter, pwtools, top10, and wireless.
I think I used nethunter, pwtools, top10, and wireless.
Happy Hunting!
Helpful Links:
Comments
Post a Comment